Search
Login
Recommended
Bathroom faucet installation
With the help of mixers, the mixing of cold and hot water in the right proportion. When installing and repairing the mixer, it must be borne in mind that they are all made with a decorative coating. In order to avoid damage to the decorative coating of the mixer, the sponges of the tool used should not have teeth, otherwise cardboard, copper or brass strips should be placed under the sponges with teeth.
Content
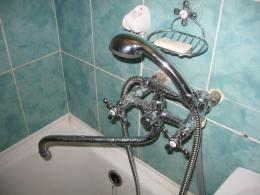
Installation of a mixer with a shower spout switch.
Cork faucets are widespread, they are common for bathtubs and washbasins. Such faucets, using bushings and union nuts, are connected to the supply pipes.
Ideally, the distance between the supply pipes should exactly correspond to the distance between the pipes of the mixer, but in reality, such an ideal contact is not observed.

Therefore, the bushings connecting the mixers to the supply pipes are somewhat bent (one end of the bush is offset relative to the axis), this allows you to adjust the center-to-center distances between the bushings, and is regulated by turning the bushings.

It must be remembered that faucets are usually sold with two bushings and two union nuts. Therefore, if you are replacing an old mixer with a new one, then changing the old sleeve to a new one is possible only if they are the same length, if the lengths of the old and new sleeve do not match, you will have to change the second sleeve.

Before screwing in the sleeve, grasp the flange of the left hand with the fingers of the left hand and leave the two initial threads of the thread exposed, excessively clockwise on the others (if you look from the side of the thread end), wind the seal in the form of linen or a modern sanitary winder, but the linen winding is more practical.
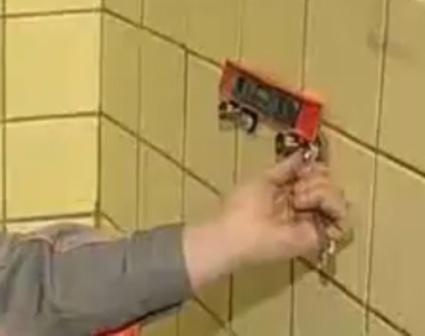
Then screw the sleeve until its end reaches the plane in which the end of the second sleeve is 2-3 mm. Next, a mixer is tried on to both bushings. If the distance between the centers of the holes of the bushings is greater than the distance between the holes of the mixer, then one of the bushings is turned on, achieving one plane for the ends of the bushings.
The union nuts must be freely screwed onto the threads of the sidewalls. In time, the removal and installation of the mixer, without replacing the union nuts and bushings, will take no more than three minutes. After the final installation of the bushings, if necessary, grind the burrs from the ends of the bushings, as they can cut through the gasket.

When drying and cracking of old gaskets, it becomes necessary to replace them with new ones. For this, you can use ready-made gaskets, but it is better to take sheet rubber of medium hardness, 3-5 mm thick. A thicker gasket, better hides the inaccuracies of the ends of the sidewall bushings. The maximum thickness of the gasket depends on the number of threads of the union nut, since at least two threads must remain on the nut for the initial grip of the sidewall thread.
Having made the gasket, insert it into the union nut and connect the mixer. If, during the start-up of water, instillation occurs, close the valve and tighten the union nut.
Mixer Repair
If damage to the mixer seat occurs.
Since mixers are usually made compound, this makes repairing them much easier.
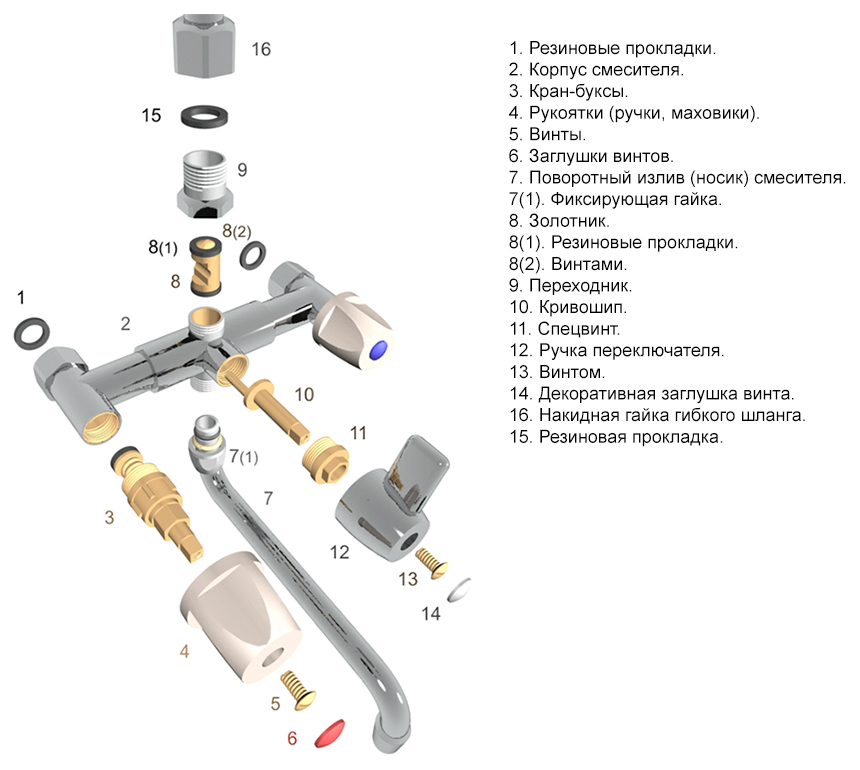
Most often, the mixer fails due to damage to the seats, as the metal is consumed by water, a radial groove appears in the body, which leads to the replacement of the mixer or its sidewall. Therefore, do not allow prolonged leakage of water from the mixer spout. Water sharpens a stone, and given that water is supplied under pressure, it will deepen the road in a bronze saddle.

But leakage from the spout is not always a sign of seat failure, as leakage can occur if the valve gasket is damaged. To find out the cause of the leak, it is necessary to close the valve in front of the mixer on the pipe of hot or cold water, then, having slightly turned off the flywheel, the head is unscrewed from the corresponding sidewall. When checking the saddle, a screwdriver is pushed into the freed hole of the sidewall and held by its sting along the saddle. If there is a groove, it will immediately manifest itself.
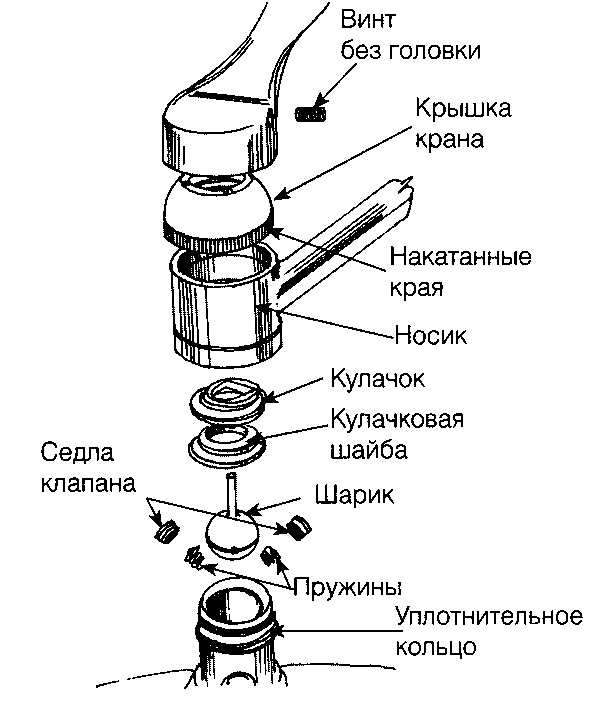
If the groove is no more than 0.3 mm deep. then there is a temporary way out. Sharp edges are scraped with the same screwdriver, a gasket of soft rubber 4-6 mm thick is inserted into the valve, then the head is installed in place. The result of these manipulations - the flywheel has to be wrapped more tightly.
There are several more ways to fix a damaged seat mixer.
The first way is to replace the sidewall.
Possible with an old (previous) mixer. The middle part of this mixer is clamped in a vice and the sidewall is turned out, gently grasping the ends of the threaded holes with the key pharynx. The repaired mixer is disconnected from the pipes and in the same way, the defective sidewall is twisted.
When installing the sidewall, its twisted part is lubricated with a meerk putty or sediment of meerk paint, or sludge of oil paint.
At the same time, make sure that the paint does not get into the internal drilling of the sidewall and the central part of the mixer. After wrapping, the sidewalls must be tightened so that its end face under the union nut is in the same plane with the corresponding end face of the second sidewall. Until the paint dries, it is better not to use the mixer.
The second way to repair the saddle.
It includes the creation of a new saddle over the old one by pressing in a sleeve machined from a brass on a lathe. Since the hole where the sleeve is pressed in is too small, the wall thickness of the stacked sleeve should be in the range of 1-1.5 mm.
The third way to repair the saddle.
This method consists in planing the top of the saddle until the groove is pulled out and a smooth ring remains in place of the rounded top of the saddle.
It should be noted that in modern conditions, the last two repair methods are possible if you are a professional turner, or there is a need to repair an old, rare mixer.

