Search
Login
Recommended
We restore the old bath, how to do it right, we restore the bath with our own hands
All objects surrounding us are subject to change and aging, not an exception to that and the surface, which once attracted the eye with a sheen of enamel. This fact is especially upsetting if the surface that has lost its decorativeness belongs to the main subject of the bathroom, during operation, chips and roughnesses and cracks appear on the bathroom. The question arises of replacing the bath, but this procedure is quite expensive and time-consuming. An alternative, which may for some time restore your plumbing to its former attractiveness, may be the decision to restore the bath at home.
Content
- How to restore an old bath with enamel
- How to restore a bath with acrylic video video
- How to restore a bathtub with an acrylic liner
How to restore an old bath with enamel
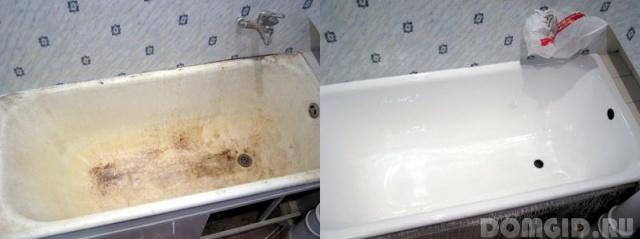
preparatory stage
Of course, the restoration of the bath is difficult to attribute to easily solved tasks, but if you want to complete all stages of the restoration work, it is quite possible to do it yourself, while saving some money. To begin with, we note that there are several options for restoration, the use of one method or another depends on the state of the surface, the presence of various kinds of scratches and chips.
The method of applying enamel is used if the old enamel has ceased to shine and has become covered with rust spots. A prerequisite is the absence of deep cracks or chips, delamination of the enamel.
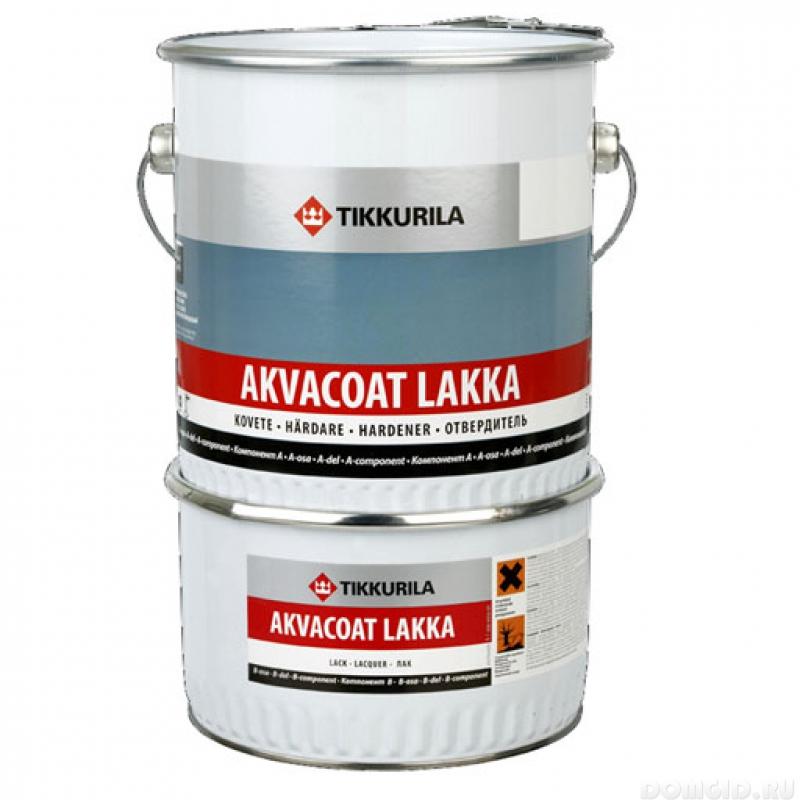
Restoration paint is best chosen from reputable manufacturers such as TIKKURILA (Reaflex enamel). Of the cheaper paints, you can give preference to domestic Epovin or Epoxin, which is of good quality, but their drying time is quite long - about four days.
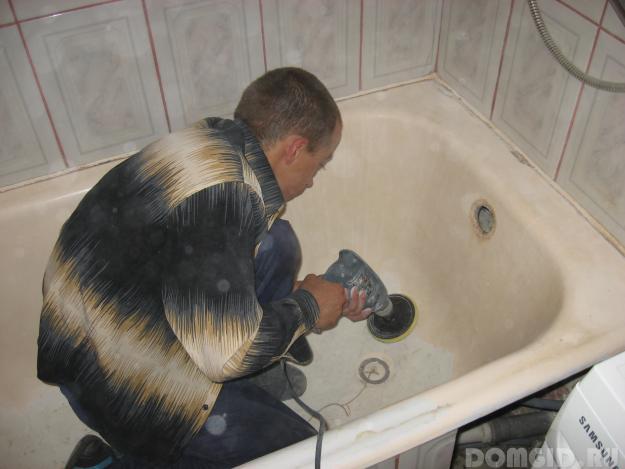
To get a new high-quality coating, you should carefully prepare the surface. Before you restore the bath, you should rid its surface of the remnants of fat deposits, eaten into the enamel surface. To do this, you can use the tool Pemolux. Next, you will need to grind the surface with a drill or grinder with a nozzle, but with caution, avoiding the formation of depressions - they cannot be hidden with an enamel layer. Grinding should be continued until the surface becomes smooth and rough to the touch. The purpose of the work is to create a rough surface that will significantly improve the adhesion between the old coating and the new one. Next, the bath is again washed with aggressive plumbing care products. If there are traces of rust, it is recommended to use a converter. Acidic or alkaline detergents can be used to clean the surface.
It is important after the use of detergents to completely remove their residues from the surface, acid when rinsing the bath is removed quickly and easily - they dissolve in water. To remove residual alkaline products will require a long and thorough washing of the surface.
A sign that the walls of the bath are sufficiently degreased is considered to be the water flowing through them, in the case of folding and dripping, the treatment should be continued. After obtaining the desired result, the bath is dried for at least 24 hours. Then the siphon is dismantled and dust particles settled on the surface are removed with a vacuum cleaner.
coating
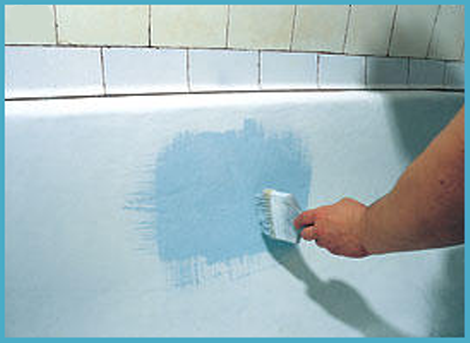
The most difficult moment will be the application of enamel. Depending on the composition used, the technology for performing work may have differences. Detailed paints on application are usually attached to paints. The amount of paint should be calculated correctly - it should be enough for two layers. The starting layer of enamel is applied with a wide brush, the layer should be thin, but at the same time fill all the pores in the remains of the old coating. Work begins from the edges and gradually sink to the bottom. Paint should be applied evenly.
A brush for work is chosen high-quality, flute, at least 70 mm wide. Bristles should be natural. Since a pile may climb from a new brush, a paint knife should be kept next to it to remove it from the paint layer.
Without waiting for the base layer to dry, they begin to apply a second, finish. The work is performed with the same brush, the direction of movement is from the middle of the bath to the top. 15 minutes after applying the last portion of the paint, the surface should be checked and the resulting streaks should be removed with a brush. One should not be particularly upset about their appearance; the masters also fail to prevent this phenomenon. Defects must be removed until the enamel loses fluidity. Then the bath is left to dry, the drying period is indicated in the instructions. Before installing the siphon back, it will be necessary to cut off the enamel drops frozen on the drain hole. To simplify the procedure a little, you can add a small amount, not more than 10% of the volume, of solvent 646 to the enamel, this will make the enamel behavior more predictable.
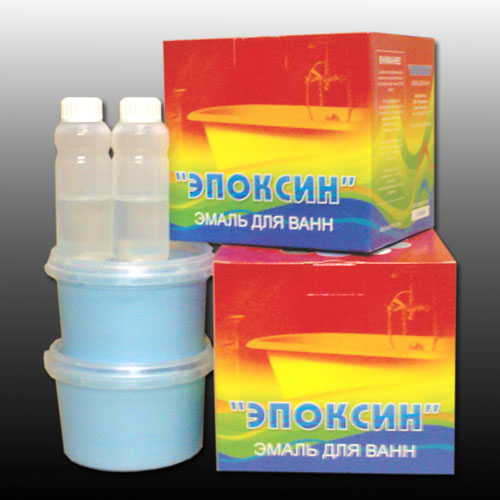
Enamel used during restoration is a two-component epoxy material consisting of a hardener and a base. Such materials when mixing can have a significant difference in viscosity, which can cause a lot of trouble to those who are first faced with such work. If you are not sure of success, it is better to entrust the work to the masters. If the work is done in accordance with all the recommendations, the bath will turn out like new.
How to restore a bath with acrylic
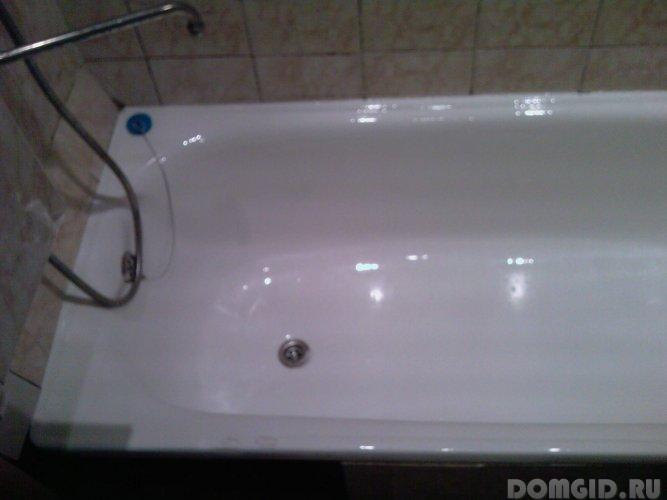
Restoring a bath with acrylic will cost more than painting it, but the result will be corresponding - all the small chips and scratches will completely disappear, even factory defects that have arisen when casting iron will become invisible.

The technology for applying acrylic is in many ways similar to the painting process, but the material used is different; there are also some features in the application technique.
The acrylic coating, Stakril, even simplifies the work a little: after a quality preparation of the surface of the bath, a stekril is poured onto its sides, it flows down, eliminating all defects.
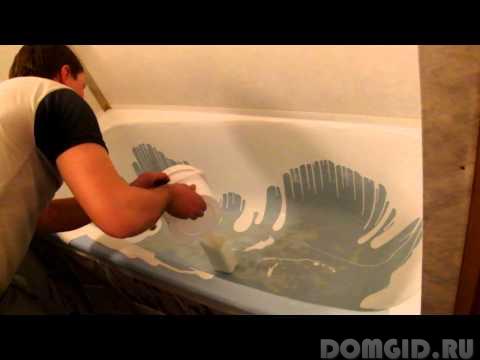
Work is performed at a time, the remaining material flows into the drain hole. If bubbles form during the operation, they can be removed with a brush, so that after it there are traces left you need not worry - they will disappear themselves after a couple of minutes.
Depending on the size of the bath, it may take from three to four and a half kilograms of material, it will take one day to dry the coating. Of the advantages of Stacryl, one should recall its wear resistance and resistance to mechanical damage and exposure to chemicals.
How to restore a bathtub with an acrylic liner
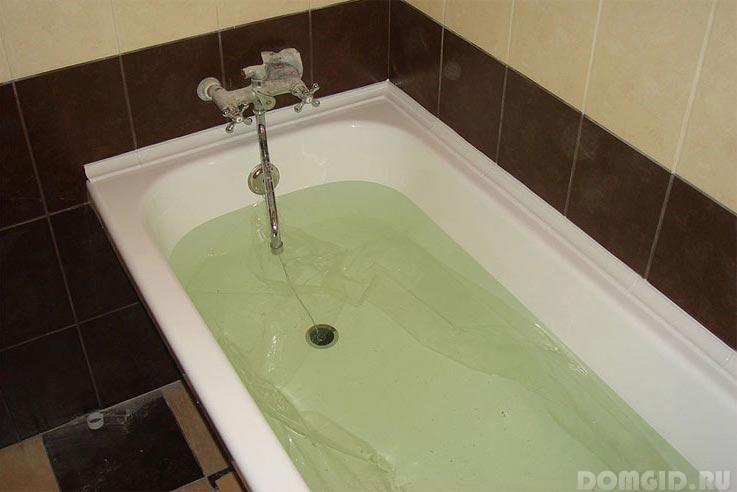
This method has a rather high cost, but allows the complete elimination of all flaws in the sanitary ware. The disadvantages of the acrylic liner include its ability to slightly bend under the pressure of the feet, but this property will practically not interfere with the use of the bathtub.
The process of preparing the bathroom will consist in processing the old coating, only grinding in this case will not be required - it will be enough to scratch it a bit, wash and dry thoroughly.
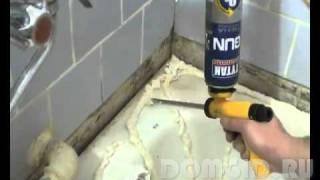
The preparation of the insert consists in giving it dimensions that correspond to the parameters of the bath, i.e. clipping its edges. Foamed polyurethane with a low coefficient of expansion is densely applied to the surface of the bath. Voids should not be allowed to form below the liner surface.
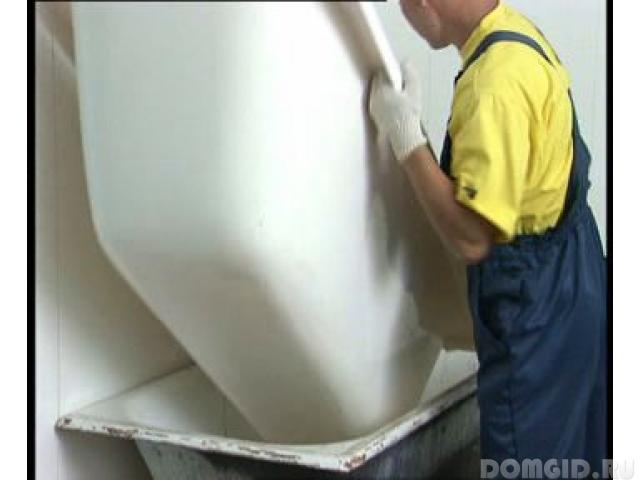
After that, you can install the liner in the bath, press it tightly. For 6 hours, until polymerization of polyurethane foam takes place, the sides of the bathroom should be crushed with loads. Next is the installation of the siphon. The joints around the drains must be treated with sealant. After a few hours, the bathroom can be used.
Of course, if you do not have sufficient knowledge of how to restore a bathtub or the skills to perform such work yourself - you can turn to professionals for help, entrust them with work and get a guarantee on its quality. But the careful implementation of recommendations and a serious approach to work will completely allow you to cope with the task. Knowing how to restore a bath with your own hands and how to choose the optimal method of restoration, you can really assess the situation and decide how appropriate it is to restore or buy and install new plumbing.


