Search
Login
Glue wallpaper, how to glue wallpaper with your own hands, wallpaper calculation, wallpaper sticking tool
Native walls! So often they say not just about the walls in the house, but bearing in mind all the cosiness, comfort and beauty that these walls create in the room of an apartment or house. And, indeed, the walls covered with beautiful and such different wallpapers with these original canvases, functional coatings create a varied, but always optimal atmosphere for living in an apartment.
How to choose, calculate, prepare the tool and the wall for gluing them with wallpaper, and glue the wallpaper itself correctly, so that it turns out a real masterpiece, our article will tell.
Content:
- Wallpapering the walls: choose a wallpaper
- Wallpapering: calculation of wallpaper
- Wallpapering: a necessary tool
- Wallpapering: preparing the foundation
- Wallpaper technology video
- Properly pasted wallpaper in the interior of the apartment photo
Wallpapering the walls: choose a wallpaper
The choice of wallpaper is an important and crucial moment in any repair. Why is wallpaper selection so important?
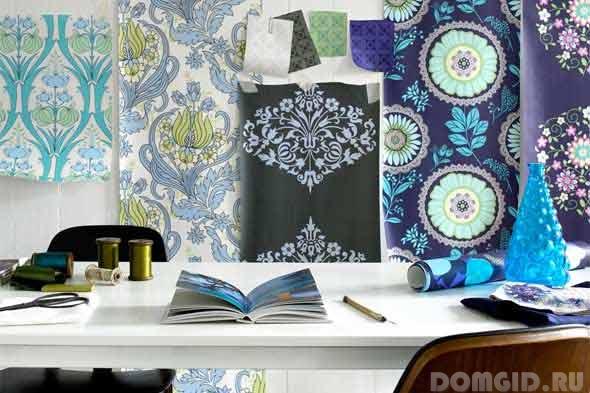
Because wallpapers differ from each other in many ways:
- the material from which the wallpaper is made:paper, vinyl, non-woven. Choosing a specific version of the wallpaper, we get a specific list of the possibilities of these wallpapers: smoothness or bumpiness, resistance to moisture, washing, the method of applying glue, the ability to remove wallpaper from the wall in the future. All these characteristics can be viewed not only externally, but also read thanks to special symbols, designations on each roll.
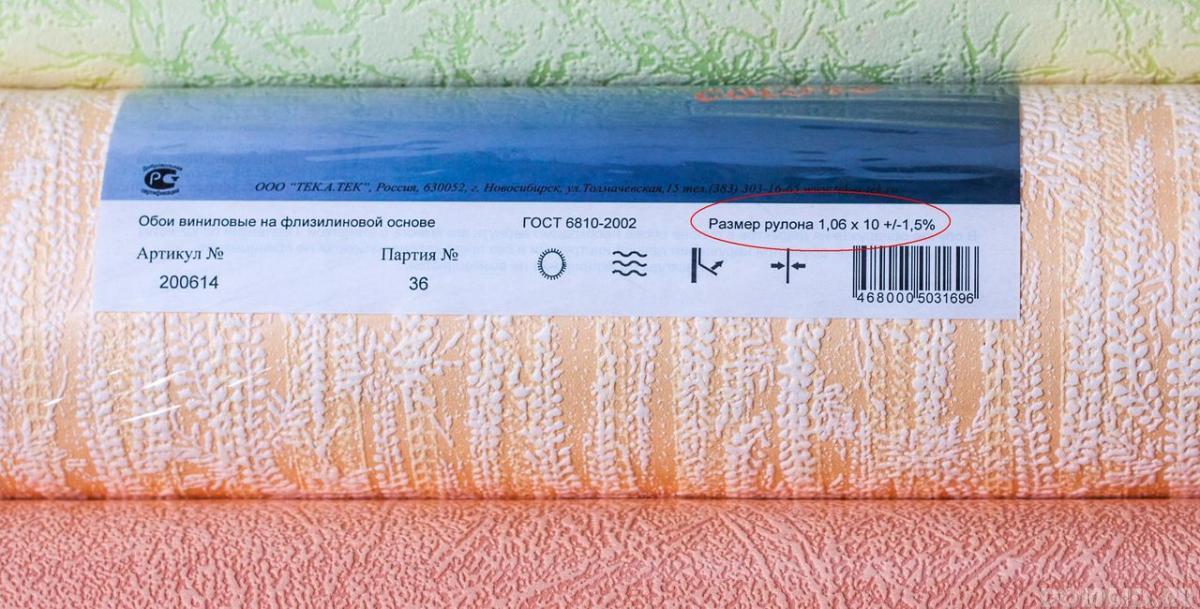
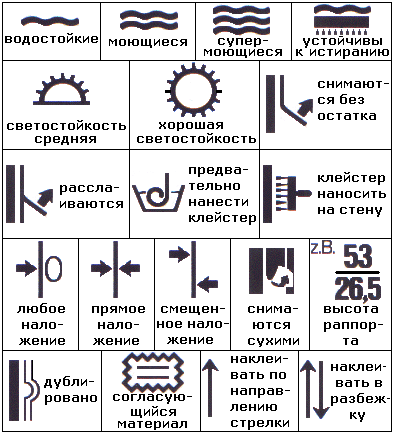
But even the same wallpaper needs to be verified by marking: the series should be the same. And also, having rolled the purchased rolls 1 m, lay them out nearby and check whether these wallpapers are the same color and shade (anything can happen).
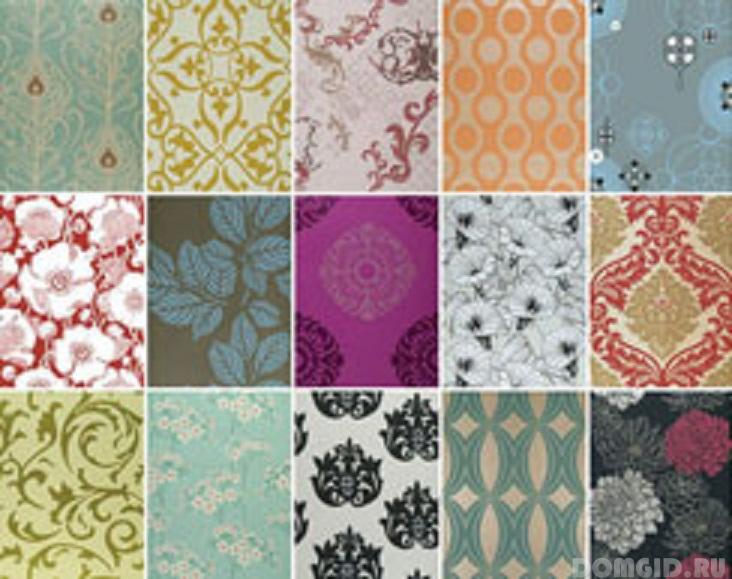
- picture on the wallpaper:wallpaper with the presence of a pattern requiring docking, of course, looks more elegant and original on the wall than a more casual version without a pattern (plain wallpaper) or with a pattern that does not require docking, but it requires additional costs, because and waste from wallpaper with a pattern in the joint will be more.
- dimensions: width and length of the tube: For the post-Soviet space, the standard wallpaper sizes are wallpaper 53 cm wide and 106 cm wide, and 10.05 m long. But this does not mean that there are no other options: in Europe, for example, wallpapers are 70, 75, 90,100 and 140 cm wide, and their length can be as standard as ours 10.05m or reach 15m , 25m (most often, this is a wide wallpaper for painting or on order).
The wider the tube, the fewer the seams, the more consistent the pattern on the wall looks.
Wallpapering: calculation of wallpaper
Calculation of wallpaper, a necessary thing, but not particularly grateful, because Wallpaper calculation tables (the number of rolls, for a certain area of \u200b\u200ba room with a certain ceiling height) went to us, for the most part, from the time of the USSR, when 53 cm wide wallpaper was available.
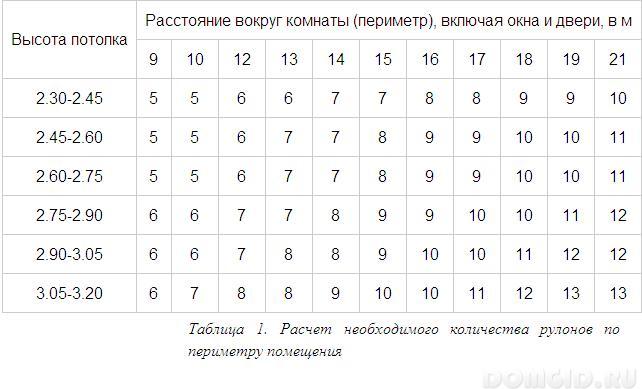
The option of 1m, 06m, or 70cm, 75cm, 90cm does not work out in this table.
But, there is another rule that applies to wallpapers of any width, 10.05 m long from a roll of this length, even if it is necessary to join the pattern, 3 stripes are obtained from 2.4 to 3 m long. Knowing the area or perimeter of a room, you can easily calculate the required number of wallpapers, of different widths.
Wallpapering: a necessary tool
The times of pasting the walls with both using a homemade paste brush and towel have sunk into oblivion. A good wallpaper will also look good on the wall only if the correct glue suitable for them was chosen for gluing it on the wall (it all depends on the material: paper, vinyl or non-woven will be glued), and the corresponding tool.
A tool for decal wallpaper need the following:
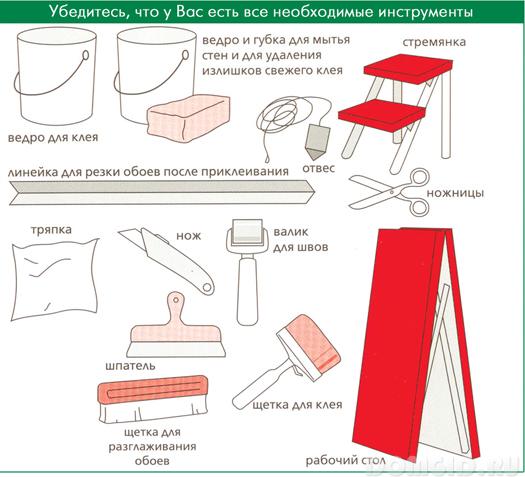
A plumb line, a level, a tape measure, a pencil all this is necessary in order to correctly markup and start gluing the wallpaper smoothly, and therefore beautifully.
Scissors, a spatula, knives (painting / stationery, double cut) are needed in order to correctly and accurately perform wallpaper cutting, cutting excess and cutting seams at the joints, double-cut knife, if required by the wallpaper itself (recommended by the manufacturer, as written on packaging) or place of sticking (on the corner, above the windows).
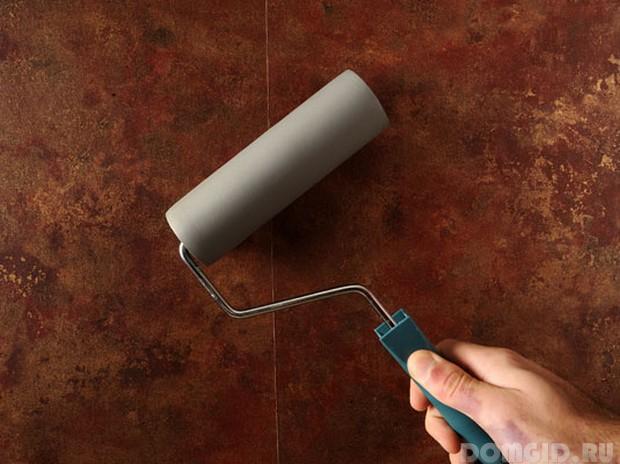
Brushes, rollers, spatulas, a container for kneading glue and how it can be mixed (wooden stick), this tool is necessary both for applying glue to walls and wallpapers, and for preparing the base of a wall for wallpapering, as well as subsequent smoothing of the wallpaper on the wall, with the removal of air bubbles, excess glue, to seal the seams-joints of the wallpaper.
Glue should be selected for wallpaper for vinyl, paper or flezilinovye (heavy) types of wallpaper.
Wallpapering: preparing the foundation
Properly glued wallpaper can only be on a properly prepared base of walls and ceiling. The wall on which the wallpaper will be glued should be smooth, clean, primed.
Usually, before gluing the walls with wallpaper, they are cleaned of old wallpaper, clean poorly sticking plaster or stucco sections, the surface is primed, then putty, sanded, primed again, after which, when everything is dry, you can glue the wallpaper.
Wallpaper technology
DIY wall-papering is well demonstrated in this video.
But in short, how to glue the wallpaper, the whole process of wallpapering the walls on a ready-made base, can be described as follows:
1. Markup:
It is not necessary to be produced from the window, because modern wallpaper is not glued overlapping, but at the joint, but, necessarily, from the corner, using a level or plumb line to determine the vertical.
2. Preparation of wallpaper:
We measure the height of the room, measure the stripes of wallpaper equal - the height of the room + 10cm. If you need to dock a drawing, do it in advance, on the floor or table, making blanks.
3. Glue application:
Depending on the type of wallpaper, glue is applied either to the wall or to the wallpaper itself, keeping the glue on the wallpaper (vinyl) or pasting them with rhinestone on the wall paper.
4. Wallpapering:
If there is time and you need a 100% high-quality result when pasting the walls with wallpaper so that the joints of the wallpaper are not visible, you need to stick 2 strips on the wall, according to the marking and drawing, and wait one day.
We do this in order to clearly know how they behave when drying (at normal drying speed, without drafts, with correctly selected glue), what will happen to the joints-seams (deploy, creep). If there are problems, then we solve them as follows:
- the seams are dry, the wallpaper should be glued with an overlap, and then cut through with a double cut, removing the excess.
- the seams turned around and cracked, it is worth trying a special glue for the seams, or glue the wallpaper with an overlap using a double cut.
- the seams dried up and a white wall became visible. This is usually true for dark wallpapers. Ideally, it is necessary, after marking, to process the places of the alleged joints of the wallpaper with a paint in tone, after drying it should be primed and glued the wallpaper. And if the wallpaper is already pasted onto the walls, it will save a marker or pencil matched to the tone of the wallpaper itself. To sketch the white stripe that appears in the carpet of dark wallpaper. Because in a modern interior either integrity is appreciated
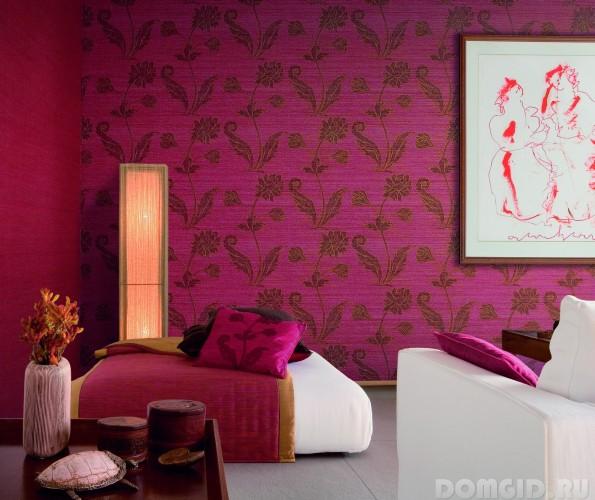
either contrast
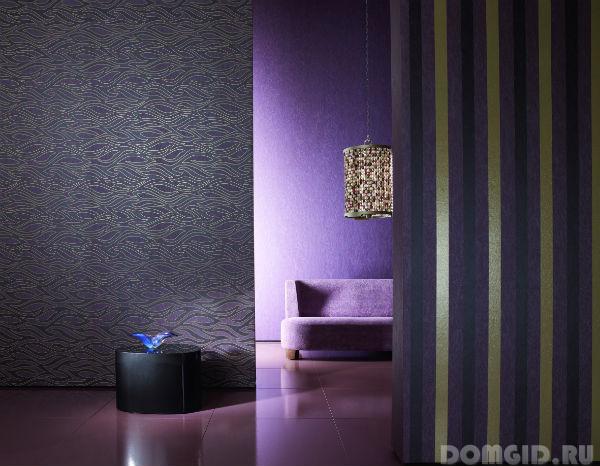
and there are no seamy seams of any kind of wallpaper.
If all is well, then continue to glue the wallpaper.
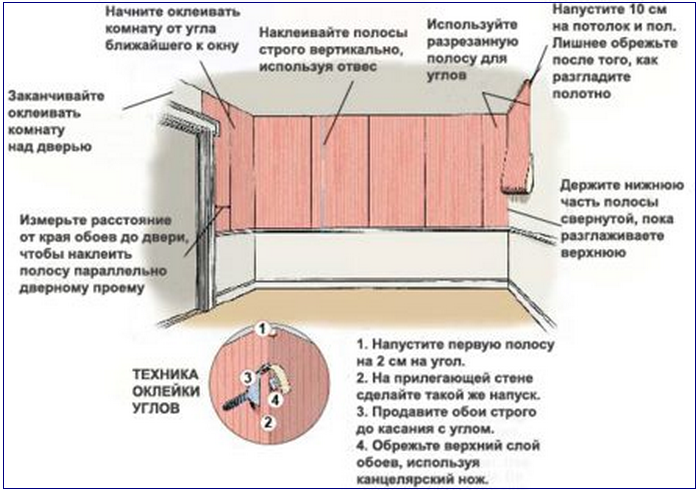
We level the canvas with a brush or spatula for wallpaper, remove excess glue, roll the seams with a special roller.
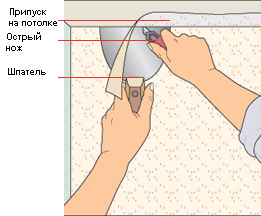
Excess wallpaper from above and below is carefully cut with a knife or scissors.
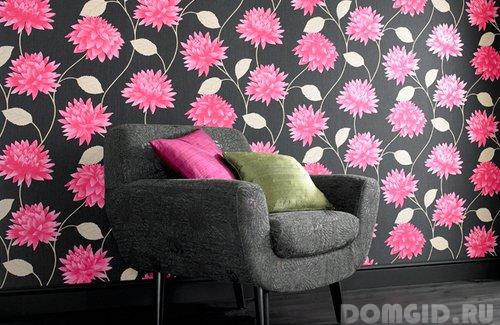
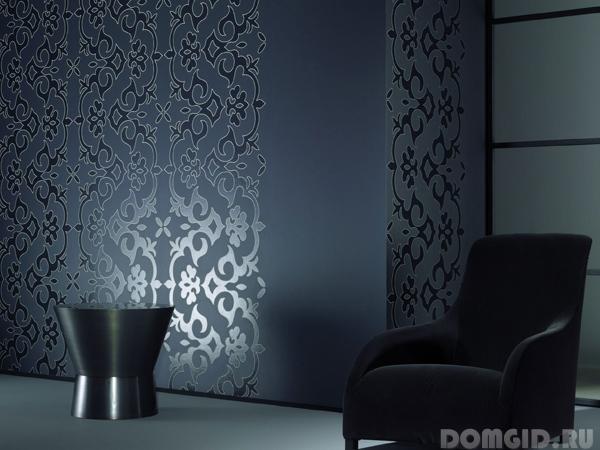
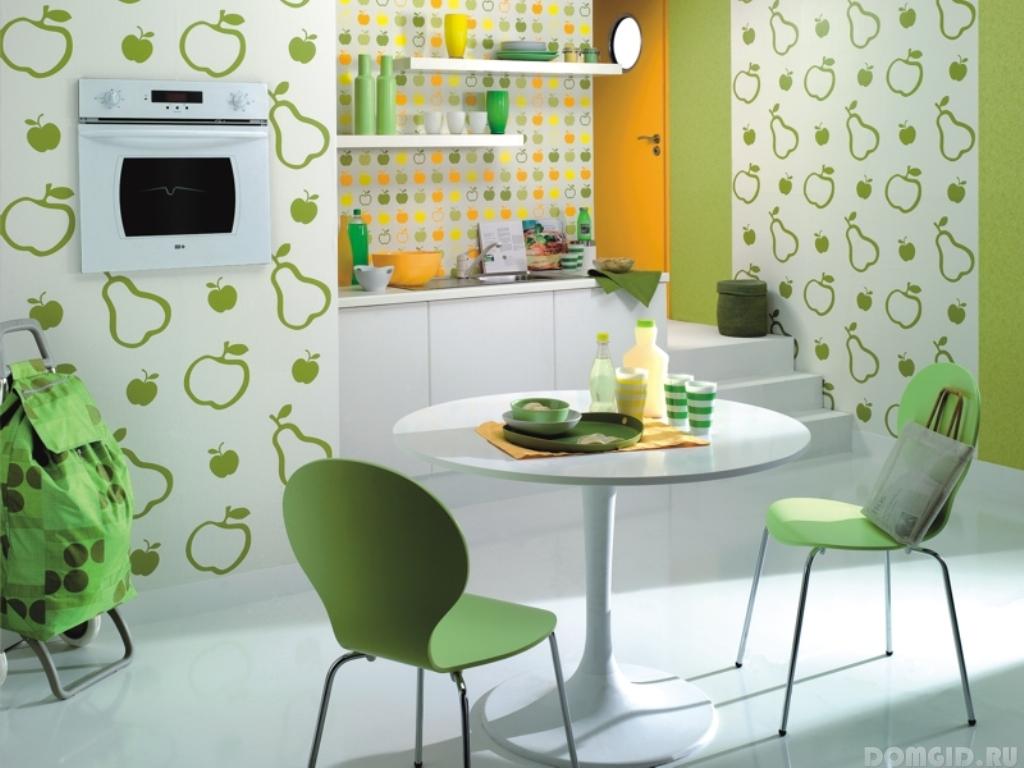
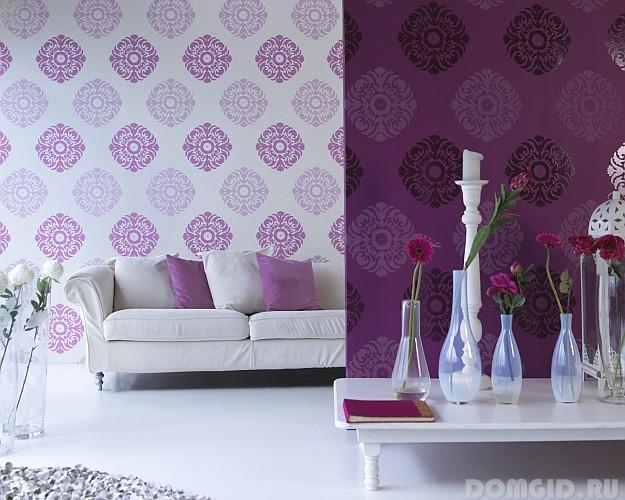
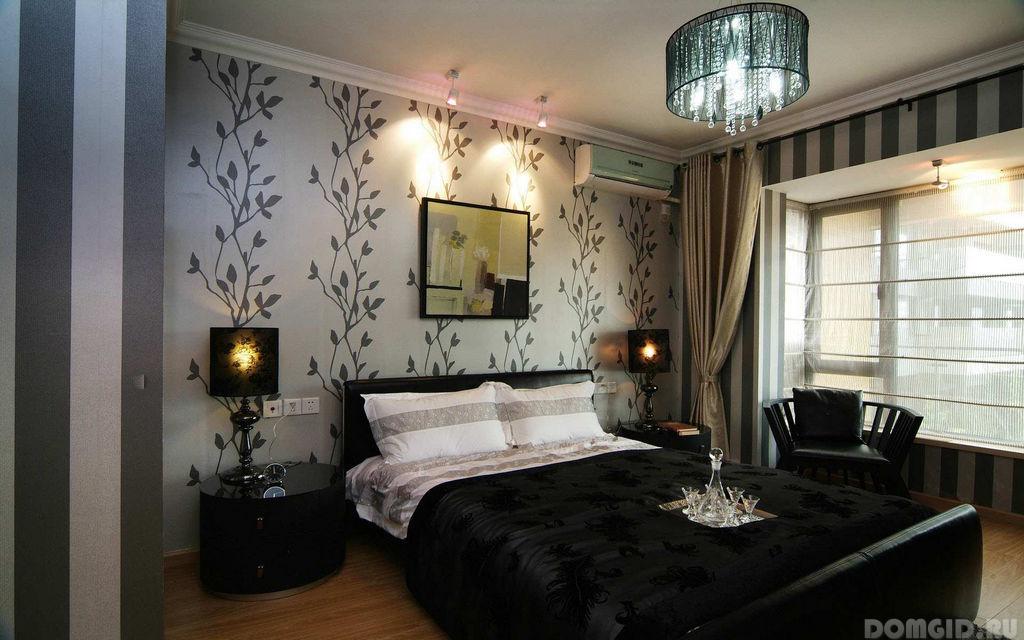
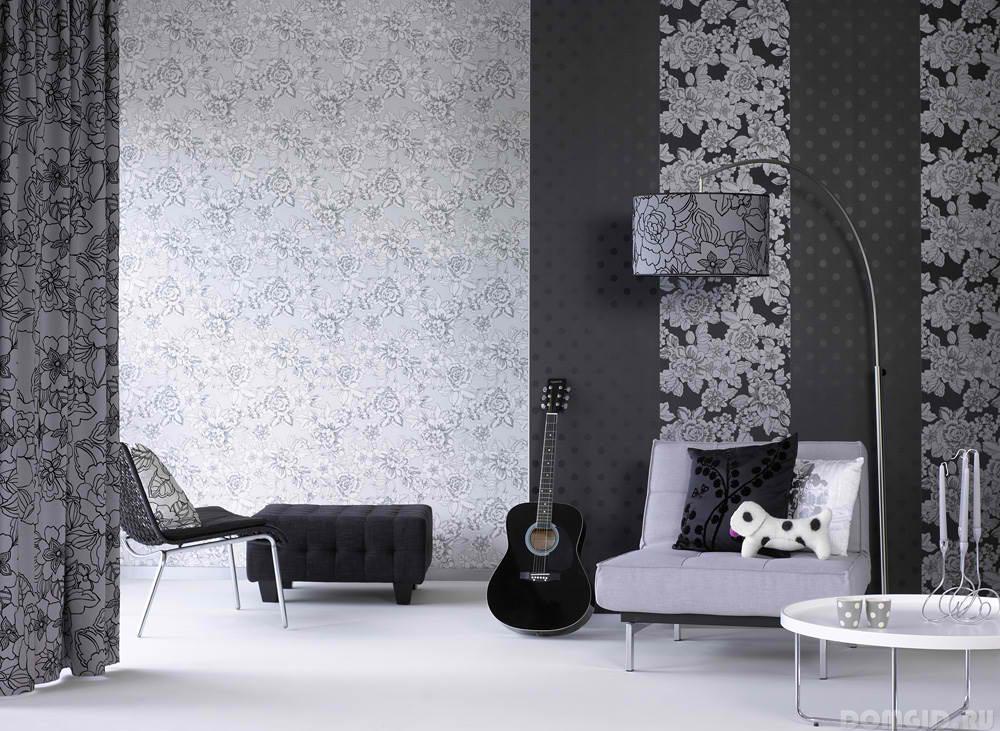
Properly pasted wallpaper in the interior of the apartment photo
If everything was done correctly, then you can enjoy the result.
