Search
Login
How to install a door frame with your own hands, make slopes, trim with beautiful platbands
Everyone who had a fun but not easy life in the Soviet era and who was lucky enough to get a new apartment had to deal with this practice. We are talking about such an amazing concept, peculiar only to our society, repair in a newly built house. In almost every apartment, before changing in, something was changed or completed. One of the elements, which very often underwent replacement or additional reinforcement, was the door block, especially the interior. Therefore, many of our citizens can perform this operation even now from memory. However, life does not stand still, new technologies and materials appear that greatly facilitate construction processes. We will talk about how to install a door frame in modern conditions in this article.
Content
- Doorway preparation for door installation
- Door frame size selection
- Essential tool
- Door frame installation video
- Installation of door platbands
- Door Slope Finish video
Doorway preparation for door installation
It is quite obvious that for the installation of the door, whatever it is the entrance or interior, we need an opening. It must be adequately prepared for the installation of the box.

If the opening is in a concrete or brick wall, it must be leveled around the entire perimeter with plaster. You also need to consider that the distances between the edges of the opening are the same, and the geometry of the opening is a regular rectangle. If the opening is in a wooden wall, then the desired geometric proportion is achieved by nailing boards of different thicknesses made using a planer.
Door frame size selection
When the opening is completely ready for installation and measured, with the results of measurements you can go to buy a door. It is clear that when choosing a door block, the main attention, in addition to the design of the canvas itself, is paid to the dimensions of the door frame, with the condition that it accurately fit into the prepared opening.
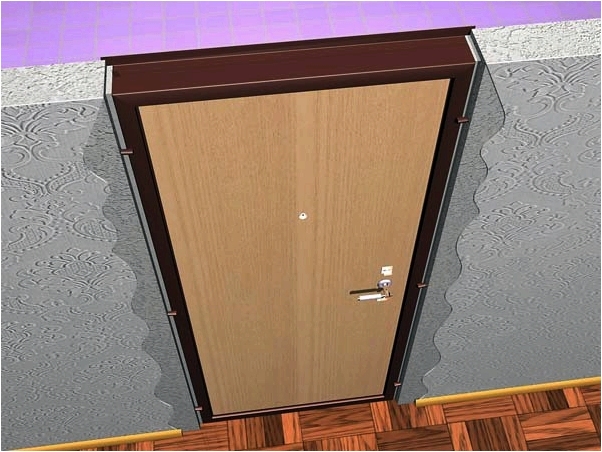
The gap should not be more than 5-6 mm, so that during installation there are no distortions, which subsequently interfere with the correct opening and closing of the door. The box itself consists of three bars fastened together in the shape of the letter P through the grooves at the ends. In order to prevent the grooves from breaking and cracking during transportation, the structure in the lower part is fixed with an additional fastening strip, which will be removed during installation. When choosing a box, you should pay attention to the width of the bars of which it consists, this width should be less than the thickness of the wall where the door will be installed.
Essential tool
To install the door frame will require a lot of tools and accessories. You will definitely need a hand tool:
- hammer
- a set of chisels (a set, with a different blade width)
- wooden mallet
- mount (or crowbar, as you prefer)
- roulette
- level
- plumb, with a cord length of at least 1.5 meters
- fine-tooth hacksaw
- miter box trimmer
- screwdriver
The required power tool includes the following list
- electric drill
- screwdriver
- hammer drill (if the box is installed in a concrete or brick wall)
- circular saw (parquet) in case you need to cut platbands along
The necessary set of accessories and related materials is also being prepared:
- trimming boards and slats of different thicknesses to make wedges, if needed
- pieces of plywood or hardboard to fill voids
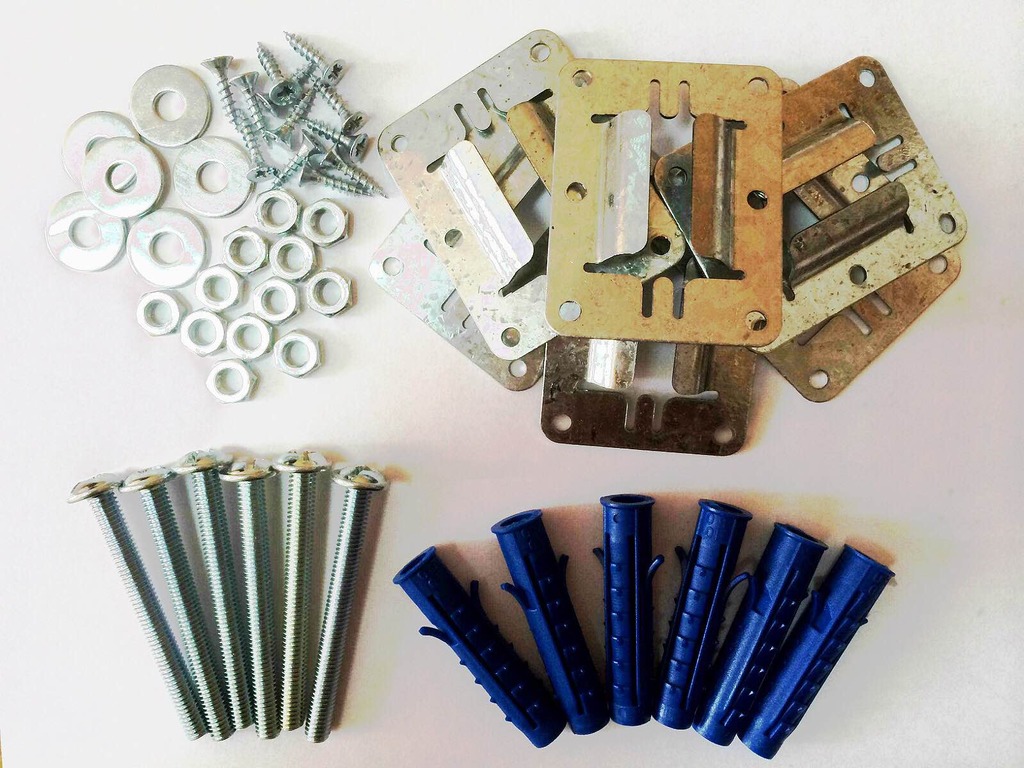
- a set of self-tapping screws and plastic dowels of the maximum possible assortment, it is necessary to have galvanized self-tapping screws 150 mm long when installing the door block in a concrete or brick wall
- finishing nails for nailing platbands
- macroflex balloon
As practice and numerous reviews show, it is best to procure the maximum set of tools and accessories, if something is suddenly not enough in the process, this will greatly complicate the procedure and lengthen the work time.
Door frame installation
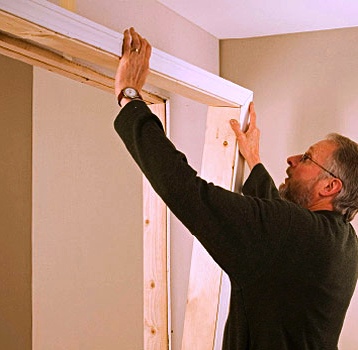
Oddly enough, the preparatory work for installing the door takes much more time than the installation process itself. The installation of the box itself is done in an elementary way, the door leaf is removed from the door unit, the box is inserted into the opening, fixed with wedges and aligned in level and plumb in space. It must be ensured that the box does not protrude beyond the edges of the opening. When installing the front door box, the edge of the box is flush with the outer edge of the opening.
When installing interior doors, the presence of distance on both sides of the opening is allowed. It remains only to drill holes in the wall and fix the box in the opening with the help of long screws with dowels. It is better to drill holes through the bars of the box so that they exactly match. If the door frame is made of MDF, the holes must first be made with a drill of a smaller diameter, otherwise the MDF will burst.
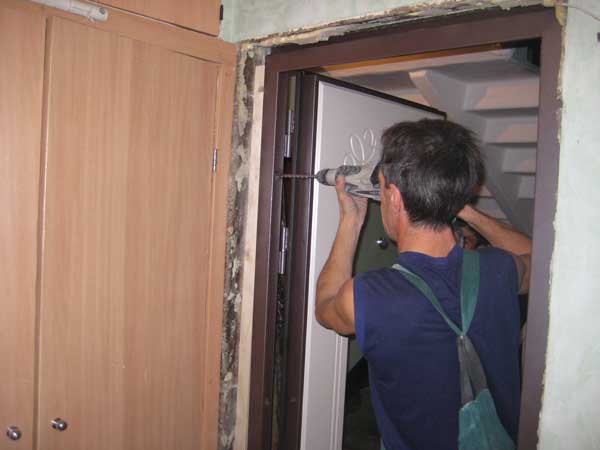
The voids are filled with plywood, hardboard or fully mounting foam, the excess part of which, after solidification, is cut with a knife. A step-by-step installation instruction for the door frame opening is given in the video
Installation of door platbands
The least difficult procedure when installing the door unit is the installation of door platbands, where the main difficulty is to correctly saw the ends, but we remember that we have prepared a miter box (a special device for the accuracy of corner cuts).
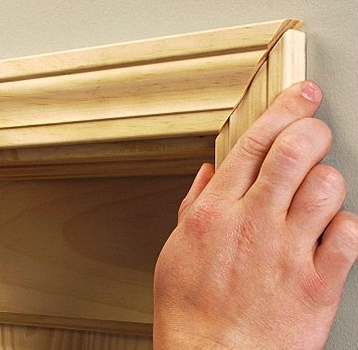
The fitted platbands are beaten with finishing nails followed by grouting the hats. The step of finishing the doorways with casing is final for the installation process of the door unit, however, it is still necessary to arrange the space around the door.
Door Slope Finish
An important element of the installation of the door block is the decoration of the door slopes, which, in addition to closing the cracks and thereby increasing the heat-saving function, also perform the task of creating an attractive appearance for the entire complex of doorway construction together with the block.

Do-it-yourself door trim can be finished using several types of materials, the choice of which depends on what the door is made of. Interior doors to a lesser extent solve the problem of thermal insulation, so the slopes for them can be made of a variety of decorative finishing materials from MDF panels, laminate, plastic to match the color of the door leaf or walls, various types of plywood or hardboard (the most budget cottage option).
The slopes of the entrance doors are best made from textured putty, selected taking into account the color of the walls of the house or the color of the door itself to create a single harmonious solution.


